Questions to Ask Your Painter

1. Do you provide a free estimate?

Ask this question when you first contact the company so you know what to expect from the get-go. Ask what is included in the estimate. To ensure that you’re able to make an even comparison of all the bids you receive, ask each company to include the following in their estimate:

  • Prep work
  • Anticipated amount of paint and primer
  • Any additional supplies

Go for in-home estimates rather than estimates given out over the phone. An in-home estimate allows the estimator to capture more detail about the project and predict any areas that may require extra work, and thus, extra costs.

2. What are your credentials?

Ask for the company’s insurance information. A contractor with general liability insurance is a must so you aren’t held responsible for accidents on your property. Some states require workers’ compensation insurance, too.

You can also ask to see the company’s business license, since some jurisdictions require home improvement companies to be licensed or registered as a contractor to perform this work in people’s homes.

Ask about certifications and training the company and its employees have. Many painting companies hold memberships with the Painting and Decorating Contractors of America, which provides continuing education programs for its members. If you have an older home, built before 1978, look for a painting contractor that is EPA Lead-Safe Certified.

3. Who will be on my crew?

If your project will take more than one day, ask if you’ll have the same people in your home for the whole job. Also ask who your main point of contact would be for the project. Would it be the office line, or an on-site project supervisor? Ask if the company uses subcontractors, and if so, whether a representative from the company will be on the job along with the subcontractors.

4. Can I see a list of references?

Ask the company to provide a list of homeowners you can contact about their experiences with the company. Don’t be afraid to ask the references if you can come see the paint job in person.

Request a portfolio, too. Painters might not update their websites frequently, but they’re sure to have documentation of their best work that they can share with you in some format.

5. What materials do you use?

You’ll want to know what paint brands they offer. It’s important to choose the highest-quality paint you can afford. Going with a high-quality brand will ensure that you don’t have to repaint in a year or two.

Discuss paint finish types with the contractor as well. Some finishes are better suited than others to the different rooms in your house, and an experienced painter will be able to advise you on what works best in your kitchen versus your master bedroom, for example.

6. What kind of painting prep do you do?

Is wall sanding, wood or drywall repair, and covering and moving furniture included in painting prep as well as in the estimate? If you need furniture covered or moved, be sure to address this and figure out who is responsible for moving anything.

Additionally,ask what work goes into the project after it’s done. If it’s an exterior painting job, ask if they’ll re-hang gutters and downspouts.

7. Do you offer a workmanship warranty?

Reputable painting contractors will back up their work. Ask for warranty details. Many companies will offer workmanship warranties and back manufacturer warranties. When you’ve chosen your contractor, be sure to get their warranty details in writing.

Porch, Patio & Pool Deck Ideas

Ready to upgrade your staycation? Benjamin Moore’s wide range of exterior paints and stains transform outdoor spaces into at-home sanctuaries.

In addition to al fresco fun, outdoor spaces extend the space of your home. Whether you are looking to refresh your patio, spruce up your front porch, or punch up your poolside setting, paint color and stain is a starting point for bringing relaxing vibes home.

Porch Paint Ideas: Beyond Neutral

Your porch is the ultimate “outside room.” Before you start looking for the perfect patio paint color to extend your interior outdoors, consider how much sun it gets, since light and time of day affect paint color appearance.

Colorful accessories are an easy and cost-effective way to elevate a porch or patio. Here, Adirondack chairs in Caliente AF-290 and light pink pillows add fun against cool Nimbus Gray 2131-50 siding, paired with monochromatic gray floors in Normandy 2129-40, ARBORCOAT® Exterior Stain, Semi-Solid. Other porch paint colors we love include Georgian Brick HC-50Hawthorne Yellow HC-4 and Kennebunkport Green HC-123.

Feeling in a DIY mood? You can easily repaint or stain your existing outdoor patio furniture in a weekend! Simply choose a wood stain color and get started.

Porch Paint Idea: The Beauty of a Light Blue Ceiling

Always popular in the southern United States, blue porch ceilings have made their way north over time. Light blue porch ceilings are beloved for matching the color of the sky, helping to visually extend daylight.

You can achieve this look with Palladian Blue HC-144Arctic Blue 2050-60Yarmouth Blue HC-150, or Clear Skies 2054-70. Pair these light blues with White Diamond OC-61, a cool white trim, to draw eyes to the ceiling, and explore other whites in our Off White Collection.

The Floors Have It: Patio Paint Ideas

Your patio is just like any other room in your home—this one just happens to be outside! Off-whites, like Cloud Cover OC-25 and Gray Owl 0C-52, pictured here, create a fresh, clean backdrop for any accent color.

Most patio floors have flagstone, brick or some other type of paver that offer an earthy foundation that goes with a range of hues. If your patio floor needs a facelift, consider Floor & Patio, a quick-drying, easy-to-apply latex enamel ideal for lanais, porches–even concrete patios. We love it for its convenient “ready mix” colors: 74 Platinum Gray and 71 Deck Gray, are two favorite options, available in low sheen or high gloss. Looking for something brighter? Floor & Patio can also be tinted in any one of Benjamin Moore’s 3,500 colors, engineered with Gennex® Color Technology.

Best Paint Colors

All light, especially natural light, impacts how paint color appears on a wall—and ultimately, how paint color looks in a room. Here, we share the best paint colors for rooms that get natural light from the north, known as ‘northern exposure.’

The amount of light that comes from each direction—be it north, south, east or west—has a powerful effect on a paint color’s intensity and cast. Here are some common characteristics of northern light:

  • A north-facing room tends to get consistent light throughout the day.
  • The natural light in a room with northern exposure can be muted and toned down
  • Cool, blue-gray tones are common for a room with northern exposure.

How can you balance some of the qualities of northern light? Choose a paint color with the right amount of warm and cool undertones, and consider the brightness of the paint color.

Let’s look at solutions from our most popular color families when it comes to north-facing rooms: Whitegray and neutral paint colors. Given that these paint colors are so subtle, natural light has the greatest impact on how each one appears in a space.

Ask Your Pro Painter

Answers to your toughest paint questions, plus 5 painting mistakes you should never make.

Where do you turn when you have a painting question? The experts at your neighborhood Sherwin-Williams store are an excellent resource. Another is Rick Watson.

Watson works in the company’s Product Information department. Since 2004, he has also served as the answer man of the Ask Your ProPartner column in Professional Painting Contractor magazine. In each issue of the quarterly publication, he fields contractor questions on everything from stucco patching to spring deck care to cleaning nicotine from a smoker’s ceiling.

Here’s a reprint of one of Rick’s recent columns, “Five Painting Mistakes You Should Never Make”.

Mistake No. 1: Applying oil over latex paint

Never use oil paints on a surface previously painted with latex. Oil-based paints tend to get brittle as they age. Latex paints are typically soft and flexible. The movement of the latex underneath can cause premature failure of the oil topcoat. Cracking is the most common.

Mistake No. 2: Skimping on surface prep

Never skimp on surface prep. Eighty-plus percent of most complaints are due to poor prep, or lack of surface prep. Paints are made to go over clean, dry, dull and sound substrates.

Mistake No. 3: Not using primers when needed

Primers are not always needed, but it is important to not skip this step when a primer is specified. Primers in most cases promote adhesion, or block stains, fill porous surfaces like concrete block, or resist alkali and efflorescence…and on and on.

Mistake No. 4: Using the wrong application tools

OK, so you bought the most expensive paint, but you are going to use the dollar special roller cover to put it on. Bad idea. Cheap covers or brushes will cause top quality finishes to not hide as well. They show tracking, fuzz, streaks and brush marks. Match high quality finishes with quality tools. Using the recommended brush and roller from the manufacturer will give you the ideal finish. You will see a difference.

Mistake No. 5: Over applying the product

Over brushing or rolling in most cases will cause poor hiding or stippling of the finish. Over applying the product can also cause severe stippling, dry time issues and even cracking of the paint film.

Exterior Primers: Curb Appeal Starts Here

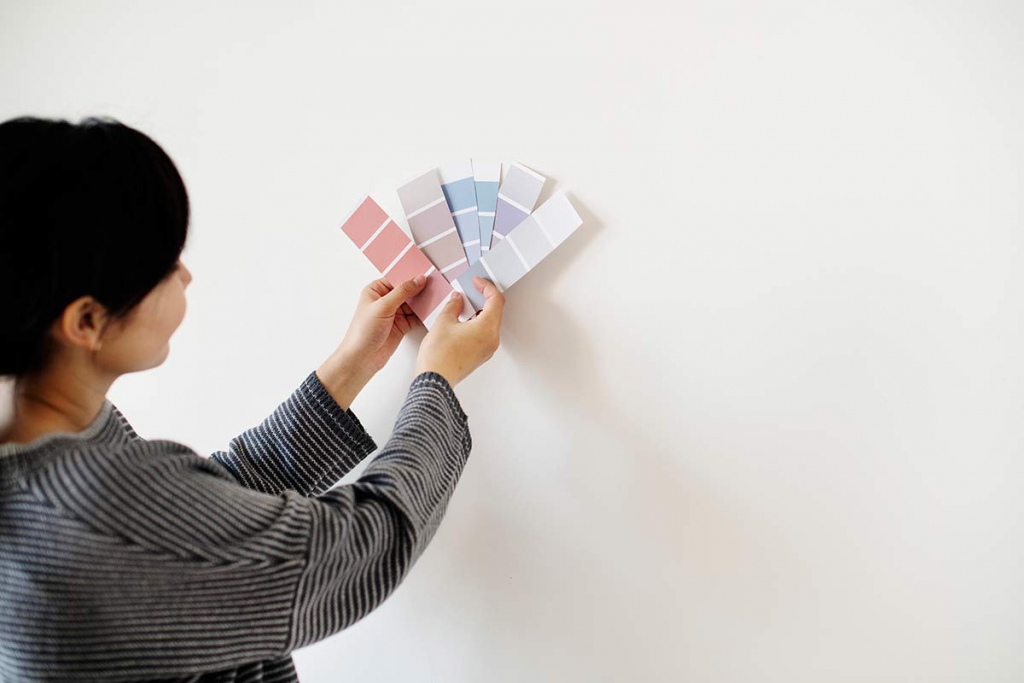
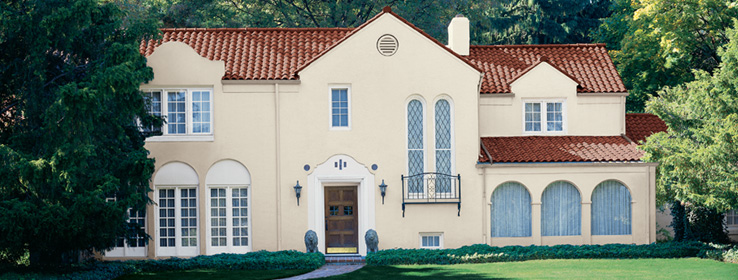
Paint finish is critical to any job’s success – especially in property management. Curb appeal sells. And, it’s more than likely that prospective tenants or buyers will pass by a property with a lackluster, peeling paint job without even bothering to see what’s inside, no matter how posh it might be.

Before your painters pick up that brush or roller or aim that sprayer, consider the numerous factors involved in achieving an attractive, durable finish on new surfaces or repainted ones.

Questionable substrates, new materials, workmanship, time constraints, scheduling conflicts and tight budgets combine to make a quality, profitable finish more difficult than ever to achieve. That’s why primers – as mundane and ordinary as they may seem – are key to the final outcome of any paint job.

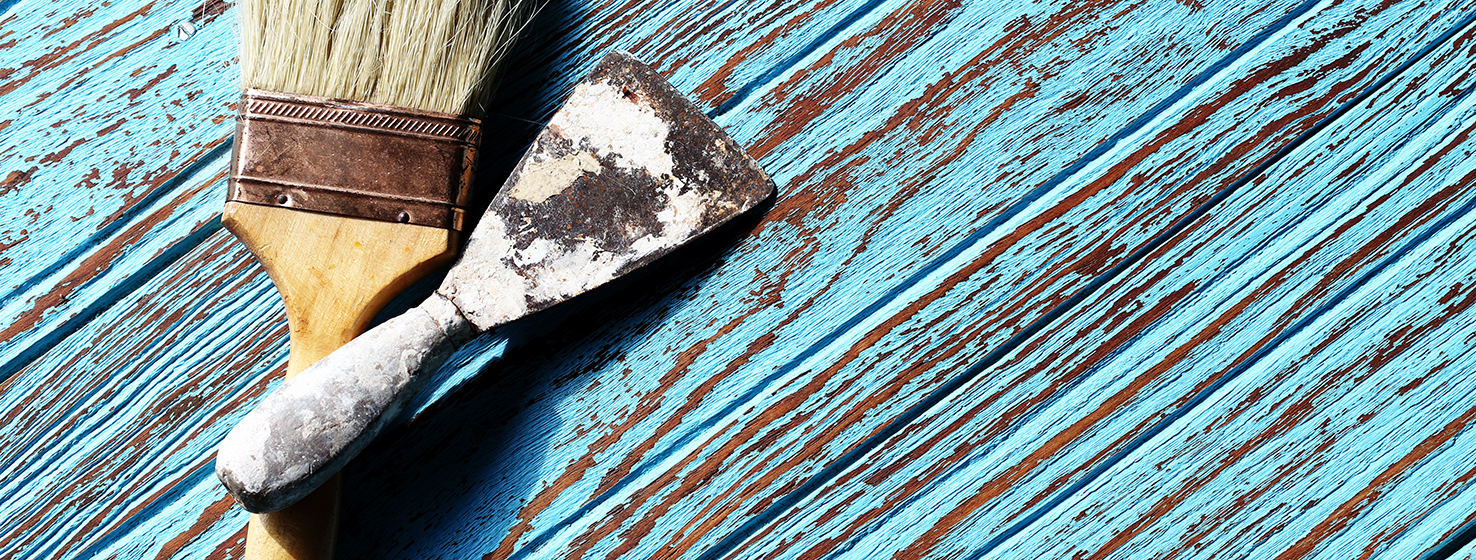
Contrary to popular belief, primers aren’t just a form of “cheap paint.” Using the right primer in the right situation can make the difference between a surface with washed-out color or penetrating stains and one that has a bright, resilient, durable finish.

The Basics

Primers act as an intermediary between the substrate and the topcoat. Good ones seal, hide and bind to render the surface more uniform. This, in turn, allows the topcoat to get a better grip on the surface and ultimately results in better staying power.

For instance, when an enamel topcoat is applied to a primed exterior door, the paint actually is not being applied to the door but rather to the primer. The primer makes a possibly difficult-to-coat substrate more accepting for the topcoat, resulting in a longer-lasting, smoother finish.

Modern research and development has given birth to new primer technologies – products that not only provide the basics but attack specific problems. If you have a tough stain to cover, inherent substrate flaws or even need to prevent mildew, chances are there’s a primer solution that will help you achieve a flawless finish.

A good primer can tackle such tough exterior surface problems as hiding or sealing:

  • Tannin bleed

  • Porous surfaces like weathered masonry or exposed wood

  • Water damage or other discoloration

  • Graffiti

  • Efflorescence on masonry surfaces

You should always use a primer on a new, unpainted surface, especially wood or masonry. Primers also should be used in most repaints, particularly in cases where the surface is uneven, stripped or worn down to the original substrate.

Primers are a must in areas where moisture and humidity are constant, such as the South or the Pacific Northwest. Mildew thrives in such environments and loves to inhabit improperly coated surfaces. It is not picky – it will grow on anything porous, from cypress wood to stucco.

A good primer will augment the topcoat’s ability to resist surface moisture and the ensuing mildew. Starting with a prime coat can extend the repaint cycle from a potentially expensive six months to one year to upwards of two or three years. It might cost you $1,000 extra at the start to use a good primer, but in the long run, you’ll be glad you did. Think of it this way: It’s not about the cost of primer, it’s about the future labor and materials cost. Primers are good preventive medicine.

Simplified Selection

Choosing the right primer isn’t as difficult as it appears. You know the job’s scope and limitations – use this knowledge to make the proper primer decision.

Think of the vast range of problems that your painting team faces in trying to deliver the expected finish coat, appearance and performance:

  • Sealing problems

  • Adhesion problems

  • Gloss top coat sheen uniformity

  • Topcoat hiding

  • Uniformity of rough, irregular surfaces

  • Curing time between coats

  • Mildew

Next consider the substrate’s condition and the topcoat finish you’d like to achieve and compare these factors to the primer categories.

Categorically Speaking

Knowing which kind of primer to use is crucial to the success of any job. All primers are formulated to penetrate, bond and hold out, but some offer greater capabilities. Some primers have high-hiding qualities, while others might hide less but instead excel at blocking stains. Others have higher bonding qualities. The type of surface to be painted, teamed with external conditions, will dictate what kind of primer best suits the job.

Using the earlier example of the enameled exterior door – if the wrong type of primer is applied to that door, i.e., one that has high hiding qualities but lower adhesion, that primer may fail and take the enamel topcoat with it.

Bonding primers tightly anchor topcoats to slick and hard-to-paint surfaces, promoting durable adhesion and reducing prep time. Use these latex primers under flat and gloss coatings on such substrates as PVC pipe, laminates, galvanized metal, plastic trim and molding, or previously enameled surfaces.

Acrylic sealing primers don’t simply provide bonding adhesion. They cover and hide stains, graffiti, tannin bleed and other surface damage. Some primers in this category seal out moisture, mildew and efflorescent salts, or block odors. These primers are ideal for delivering the best appearance of flats and enamels on doors and trim, exterior siding, and fresh or existing masonry.

Primers in this category generally are 100-percent acrylic. Most effectively seal out common stains found in architectural settings. Perfect for rehab work, this category tends to ensure a smooth uniform topcoat without stains bleeding through.

Another category – surfacing primers – smoothes the substrate and permits uniform topcoat sheen. These products achieve this by filling, leveling and sealing porous, rough, uneven and dissimilar surfaces. On masonry, surfacers overcome mortar topcoating issues like alkali burn, delamination and water damage to pave the way for clean, aesthetically pleasing exterior finish coats. Some of the new block surfacers have been designed for exterior application in temperatures as low as 35° F, allowing you to proceed with projects even when the weather gets chilly.

A second type in this category – block fillers – fill, seal and ensure the uniformity of rough, porous unpainted and textured concrete and cement surfaces. These thick formulations fill small voids commonly found in concrete surfaces for a smooth, uniform finish coat with maximum adhesion, appearance and long-term performance. Specify these when painting exterior flat-surfaced, above-grade concrete blocks, concrete, cement and masonry.

For new masonry, such as concrete, stucco and other similar surfaces, use a 100 percent acrylic emulsion conditioner. A conditioner will penetrate and seal the surfaces, while bonding any light chalk to the surface to ensure proper topcoat adhesion. These sealers allow seven-day “green” masonry to be coated without the standard 30-day cure, streamlining work time, and will adhere to new or existing concrete with a pH up to 13. Conditioners also offer an economical alternative to priming on pre-painted masonry surfaces. They are particularly useful in cases where the existing masonry topcoat has deteriorated over time.

Today’s primers have come a long way – both in variety and performance. This product categorization and the related new, improved primers solve common surface integrity problems.

Using the right primer for the job delivers a finish with the ultimate in appearance, value, efficiency and profitability. Don’t suffer the consequences of cutting corners and skipping the valuable prime coat. You’ll regret it in the future.

Request a Free Quote NOW

Call Now